
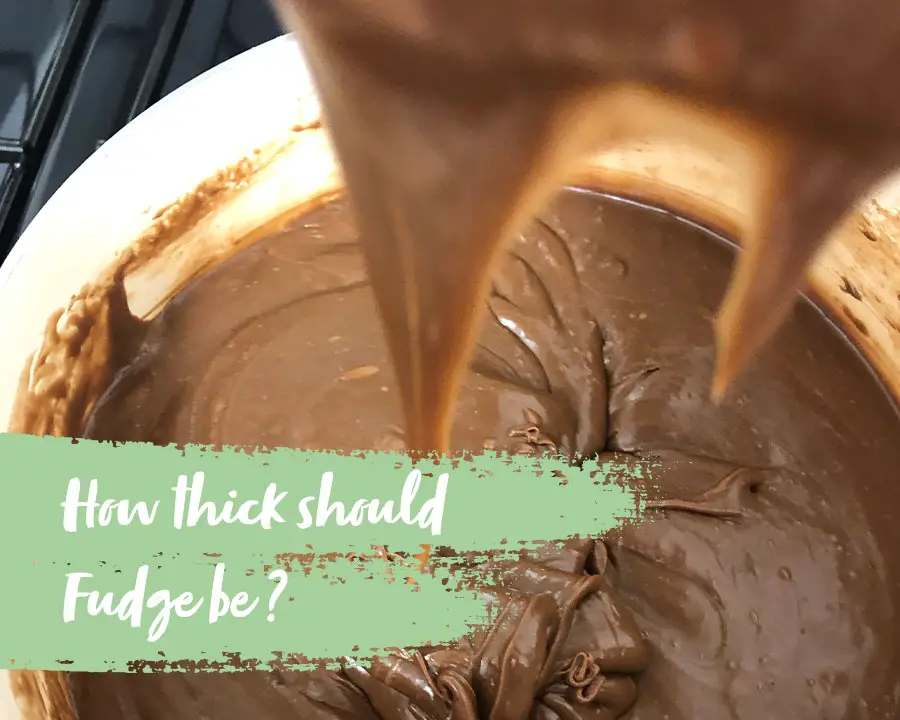
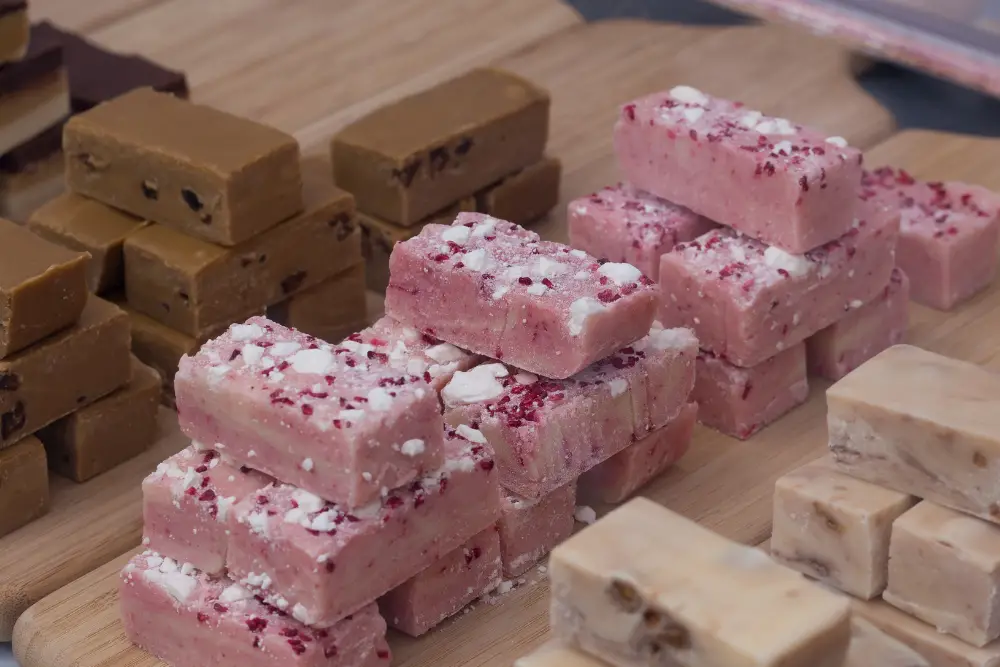
When you think of the perfect fudge, you are probably imagining a deliciously soft texture, with a creamy taste that crumbles nicely in your mouth as your taste buds jump for joy at the amazing flavor.
However, throughout our journey into the wonderful world of fudge, we’ve heard every type of cooking woe: from a runny mess that resembles something out of a horror movie, to inedible pieces of rock that would be better used as a paperweight than a dessert option worth serving.
Like most things in life, the answer lies somewhere in the middle and the aim is to make the perfect fudge that combines the smooth and creamy taste of soft fudge whilst still retaining the structure of hard fudge.
In the famous words of Goldilocks, you’re looking for fudge that is not too thick and not too thin, which can be easier said than done.
Remember that making the perfect fudge (or any recipe for that matter) takes repetition and practice.
The more you try this out, the better your fudge-making skills become, and you’ll intuitively know the right consistency as you begin to nail it every time. Here are a few tips to help steer you in the right direction.
Temperature
This is probably the most important factor to take into consideration, and we recommend that most of your efforts are focused on getting the right heat for your fudge.
There are many ways to do this, but the easiest is to outsource the quality control and use a candy thermometer.
Check out this post for our recommended candy thermometers : What Is The Best Thermometer For Fudge? .
This will ensure that there is no guesswork, and you’ll reduce the chances of under-cooking the mixture which is when it doesn’t set correctly, or overcooking that often makes the final product grainy and very hard.
Once the mixture is stirred, clip the thermometer to the side of the pan and begin the cooking phase of the recipe. There are two to make sure you get right. Choosing the right pan is very important in fudge making, read this guide What is the Best Saucepan for Making Fudge? .
The first is to make sure that the thermometer does not hit the bottom of the saucepan. Otherwise, you’ll get an inaccurate reading because the temperature will be misrepresented by the saucepan instead of the mixture.
The second thing to be aware of is to not place the thermometer too high, so make sure the bottom part of the bulb is completely covered.
You might be wondering: what’s the ideal temperature? We find that for best results to aim for a temperature from anywhere between 234 and 237 °F/ 112 and 114 °C.
This will allow the liquid to evaporate and raise the temperature of the sugar. Just don’t forget to monitor this, as the temperature is going to rise quickly once it gets past 212°F/ 100°C.
When To Stir
A lot of budding fudge creators make the mistake of stirring the mixture before it’s had time to cool.
Big mistake.
What happens is that the crystals cause the formation of nuclei, for which sugar molecules attach to form crystals. These crystals begin to grow and you end up with a grainy tasting fudge, which nobody wants.
Instead what you should do is leave the mixture in the saucepan and allow it to breathe at room temperature.
If you want to speed up the process then cool the mixture by placing the saucepan in the sink and running some cold water around the outside of the pan. You don’t need to worry about using ice, cold water will do the job just fine.
Once the mixture has cooled to around 113°F/ 45°C, you can beat the mixture continually until it starts to crystallize.
As soon as the mixture is thicker, then you can proceed with placing the mixture in a lined tray.
Choosing The Right Utensil
Something that can help create consistency with your mixture is using the best utensil to stir. We know that wooden spoons are commonplace in many kitchens across the country and we wouldn’t remiss you for choosing this option.
However, beating the mixture can take anywhere from 5 to 15 minutes depending on the size of the batch, and what tends to happen is that you can become tired or bored, and can prematurely pour the mixture into a pan before it has had time to thicken.
That’s why it’s better to use something that is going to evenly beat the mixture in less time without getting aching wrists.
Choose a good quality electric mixer, as it will take roughly 2-3 minutes, which is well under half the time it takes with a regular wooden spoon.
If you don’t have the budget and want to stick with manual stirring, then choose a silicone stirrer that is sturdy and allows you to get stuck into the mixture. Avoid flimsy spatulas at all costs as you’ll never get anywhere.
Miscellaneous Tips
The above advice will cover 90% of your cooking needs for the perfect thickness of fudge. Here are a couple more tips to help you reach the upper percentile of fudge makers worldwide!
You want to avoid making fudge on humid days. That’s because when it’s humid, moisture can absorb into the mixture and make the fudge diluted, resulting in a softer consistency.
This is why having fudge in the winter is a better idea when the humidity is lower. If you do want to make fudge in spring or summer, pick a dry day when it’s warm but not humid, which we know is easier said than done, especially in areas that are warm all year round.
You’ve gone to all the trouble of making a fudge that is thick and tasty, so how do you store leftovers?
The answer is to very tightly cover the fudge in waxed paper so that it doesn’t dry out too much, and store it in an airtight container in a fridge, or a cool dry place, depending on whether you live in this kind of environment.
You can also freeze fudge for up to 3 months depending on the recipe. But make sure to allow the fudge to properly thaw before digging in, otherwise, it‘s going to be too tough to bite into.
Lastly, if you have made a big batch of fudge, add a layer of foil in between layers as frozen fudge tends to stick.
In Summary
Getting the right thickness and consistency of fudge is crucial to the end product. It can either be a crumbly mess or a sticky mess that just won’t set. This is why at Call Me Fudge, we’ve helped you out with this guide of the right temperatures, when to stir and what to stir with.
For more fudge making guides like this one check out:
