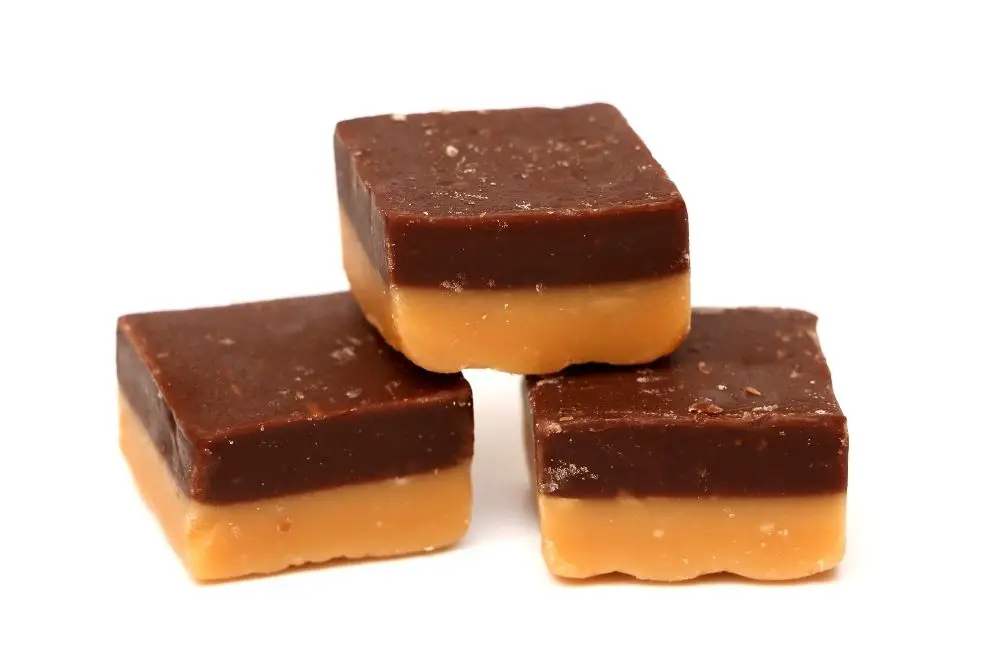
When you’re a beginner making fudge, sometimes it can be challenging to get the consistency right to ensure that it sets.
However, if you’ve made fudge that hasn’t set properly, you might be wondering: Can I reboil fudge that didn’t set?
In this article, I will cover some key information about reboiling fudge. So, next time you make a batch of fudge that hasn’t turned out quite right, you know how to go about fixing it!
So, let’s get into it.
Can I Reboil Fudge That Didn’t Set?
Yes, you can absolutely reboil fudge that didn’t set properly. In fact, this is probably the easiest way to fix fudge that hasn’t set properly.
That being said, you will need to be careful to prevent the sugar crystallizing when it comes to reboiling your fudge, as you want to ensure that it has a smooth texture as opposed to a grainy one.
Before we get into how you can reboil your fudge, it’s important to gain a better understanding of why your fudge might not have set.
Why Didn’t Your Fudge Set In The Refrigerator?
Sometimes, you can feel as if you’ve done everything right, and your fudge still doesn’t set properly in the refrigerator.
So, why is this?
There are a few reasons why your fudge might not have set. However, the most common reason is that you didn’t cook it for long enough.
Fudge is a form of fondant. When making fudge, the mixture needs to be heated to the “soft ball” stage. This is typically 234 and 237 °F/ 112 and 114 °C.
If you take your fudge off the heat too quickly, not enough water will evaporate as the fudge won’t have had enough cooking time. This therefore results in a softer texture that won’t set like you would have hoped no matter how much time you give it in the refrigerator.
To contrast this, if you overcook your fudge, you will end up with a hard and crumbly texture that isn’t great, either.
Mastering the process of making fudge, then, is all about getting this balance of cooking time just right.
It might take a couple of times, but if you have patience and trust in the process, you’ll get there. That being said, there is a piece of equipment that will help you significantly as a beginner when it comes to making old-fashioned fudge and this is a candy thermometer.
This will help you to accurately measure the temperature, meaning that you minimize the risk of you under or over cooking your fudge. Even though the process will get easier, a candy thermometer is a good way to ensure that you get consistent results across the board. After all, there’s no use perfecting a recipe if it comes out different every time.
How To Reboil Fudge
Equipment You’ll Need
- Baking parchment
- A heavy-bottomed saucepan
- A wooden spoon
- A candy thermometer

Instructions
Step one – Prepare a baking pan
To begin, you will first need to prepare a baking pan with baking parchment. Make sure that you leave enough baking parchment so that there is an overhang, as this will make it much easier to remove the fudge from the baking pan later on.
Step two – Return your fudge to the heavy-bottomed saucepan
Next, it’s time to begin the reboiling process. Return your fudge to the stove in a heavy-bottomed saucepan with 1 and a half cups of water.
Step three – Stir the mixture until it dissolves
Next, you will need to turn the stovetop to a low heat. You will need to make sure that you’re constantly stirring the saucepan until it dissolves.
Step four – Taste the mixture
As you’ve added water to the fudge, you might find that the flavor of your fudge has been diluted.
As a result, it’s good practice to try your fudge, being careful to not burn yourself. Adjust the flavorings if you deem it necessary.
Step five – Increase the heat
Raise the heat to medium and bring the mixture to a boil. At this point, you need to stop stirring the mixture.
Make sure that you are being careful to use a pastry brush to wash down the sides of the saucepan to prevent the sugar from beginning to crystallize in the pan.
Step six – Remove the pan from the stove
Once the fudge has reached the proper temperature (234 and 237 °F/ 112 and 114 °C) that your original recipe called for, it’s time to remove the pan from the stove.
Allow the mixture to cool to approximately 109 to 113 °F/ 43 to 45 °C.
Step seven – Beat the fudge
Once your fudge has been allowed to cool, you will now need to beat the fudge.
Continue beating the fudge until it begins to thicken up and appears less shiny. However, it’s essential that you don’t overbeat the fudge, as this is when the fudge will become hard when it sets up in the refrigerator.
Step eight – Transfer the fudge into the pre-prepared baking pan
Next, you will need to place the fudge mixture into the baking pan that you lined with baking parchment earlier.
Push the fudge to the sides of the pan. Smooth over the fudge with a knife to ensure that it is an even layer when it comes to you cutting it up.
Step nine – Refrigerate your fudge
Pop the pan into the refrigerator and chill your fudge for 3 hours or until it is completely set.
Step ten – Cut up the fudge
Remove the fudge from the refrigerator when it has completely set.
Now it’s time to cut up the fudge into equal pieces with a sharp knife. Serve and enjoy!
Pro Tips For Making Homemade Fudge
- If you’re using an old-fashioned fudge recipe, it’s important to use a candy thermometer to monitor the temperature.
- Always use a heavy-bottomed pan. If you’re using a saucepan that is too thin, the heat won’t be distributed evenly and the sugar is much more likely to burn.
- Make sure that you stop stirring the fudge after it reaches a boil and all the sugar has dissolved.
- Make sure that you stop beating the fudge when it begins to thicken up and becomes less glossy.
In Summary
If your batch of fudge doesn’t set the first time around, it’s not the end of the world!
You can easily melt and reboil your fudge to fix it, but you will need to be careful to prevent the sugar from crystallizing in the process.
Have fun and enjoy!

